Setting up Kubeapps, Prometheus, and Grafana
Installing Kubeapps
Install using:
➜  helm repo add bitnami https://charts.bitnami.com/bitnami
➜  helm install --name kubeapps --namespace kubeapps bitnami/kubeapps --set ingress.enabled=true
It seems that along with using a custom YAML file, you can set certain values on the CLI as well using
--sethere.
This will install Kubeapps using helm and deploy it in your cluster in a new namespace called kubeapps. The value being set for ingress.enabled=true will expose the underlying service or dashboard that is defined by the chart to the host machine under kubeapps.local. However, you’ll need to add this entry to point to your minikube IP in /etc/hosts.
To do this, you can edit /etc/hosts directly or execute the following:
➜  export CLUSTER_IP=$(minikube ip) # On Minikube. Use: `kubectl cluster-info` on others K8s clusters
➜  echo "Kubeapps URL: http://kubeapps.local/"
➜  echo "$CLUSTER_IP  kubeapps.local" | sudo tee -a /etc/hosts
Open a browser and access Kubeapps using the obtained URL. Access to the Dashboard requires a Kubernetes API token to authenticate with the Kubernetes API server.
Create the service account and role in Kubernetes:
➜  kubectl create serviceaccount kubeapps-operator
➜  kubectl create clusterrolebinding kubeapps-operator --clusterrole=cluster-admin --serviceaccount=default:kubeapps-operator
Get the token:
➜ kubectl get secret $(kubectl get serviceaccount kubeapps-operator -o jsonpath='{.secrets[].name}') -o jsonpath='{.data.token}' | base64 --decode
Pipe the last value into
pbcopyand paste into the browser directly.
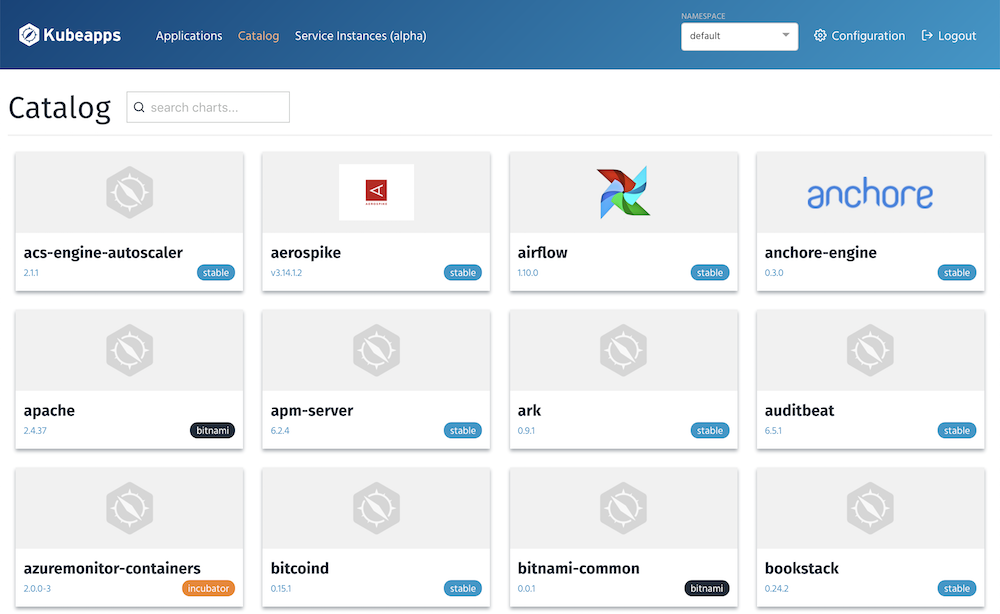
At this point you should see the dashboard after entering the key. Navigate to the Catalog tab.

Deleting Kubeapps
If for whatever reason you want to clean up Kubeapps you can do the following to accomplish that:
➜  helm delete --purge kubeapps
➜  kubectl delete crd apprepositories.kubeapps.com
➜  kubectl delete namespace kubeapps
Installing Prometheus
Let’s use Kubeapps to install Prometheus. The nice thing about Kubeapps is that it let’s you customize the Helm chart on the dashboard UI before deploying in your cluster.
For Prometheus we’ll also set it up with ingress to that we can access it directly from our host machine. This makes it easier to use without having to port forward.
Inside your Kubernetes cluster, all of your services and pods have DNS names associated making them accessible within the cluster. For services they follow the format of
my-svc.my-namespace.svc.cluster.localand pods would likely bepod-ip-address.my-namespace.pod.cluster.localbut gets more complicated with hostnames etc. See more info here.
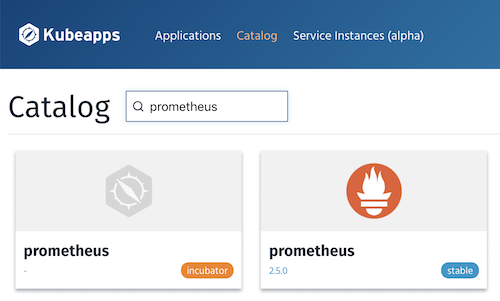
Search for “prometheus” in the field and click on the one with the stable label on the card. We’ll install on the stable versions, there’s also bitnami and incubator but not sure what those are.

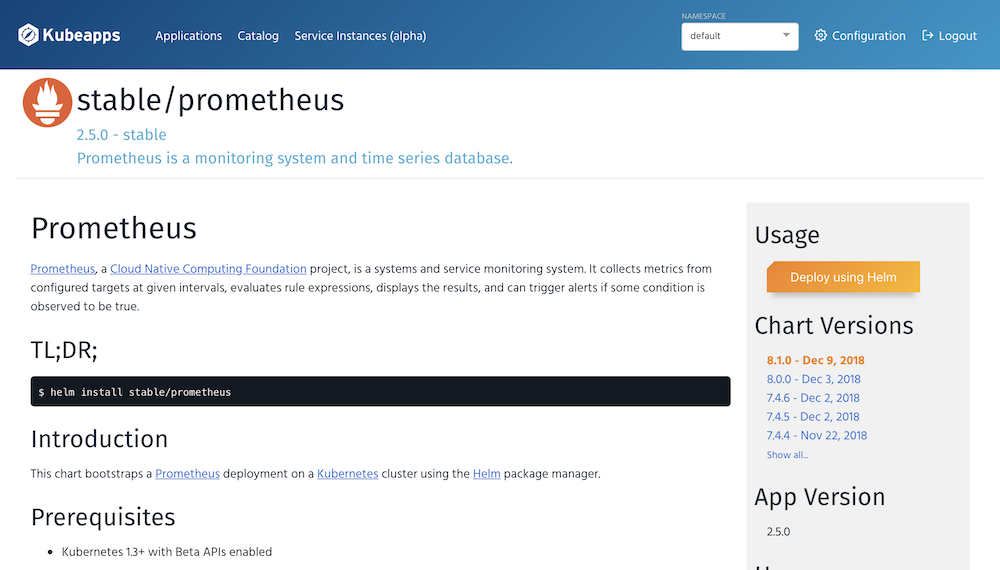
Next you’ll see detailed information about the Helm chart for Prometheus and configuration parameters along with many other goodies worth reading. Click the “Deploy using Helm” button on the top right.

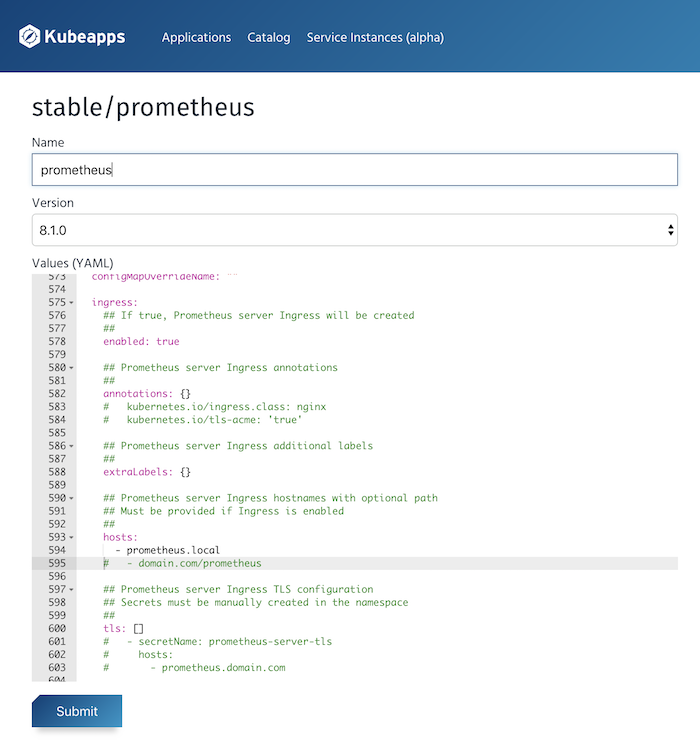
This brings you to the customization page where you can modify any of the values used by helm to ensure a deployment that suits your needs. We’ll want to name our deployment something and peruse through the YAML and configure a view things. For one, we’ll want to enable ingress and set the hosts value to prometheus.local.

Part of the YAML under the service node needs to be updated to indicate that we want to enable ingress. The default value for enabled is false so needs to change. Additionally the hosts is an empty array [] so remove that and add an item for prometheus.local underneath. It appears like this after updating:
  ingress:
    ## If true, Prometheus server Ingress will be created
    ##
    enabled: true

    ## Prometheus server Ingress annotations
    ##
    annotations: {}
    #   kubernetes.io/ingress.class: nginx
    #   kubernetes.io/tls-acme: 'true'

    ## Prometheus server Ingress additional labels
    ##
    extraLabels: {}

    ## Prometheus server Ingress hostnames with optional path
    ## Must be provided if Ingress is enabled
    ##
    hosts:
      - prometheus.local
    #   - domain.com/prometheus
Since Helm charts and the values seem to be rendered as template variables, they can likely be whatever developers set them to be. It appears there is some consistency though in the naming of these configurable parameters but not always the same. You’ll have to figure out what the parameter is meant to be based on the information available.
Submit the Helm deployment and review the post-install notes provided by helm.